
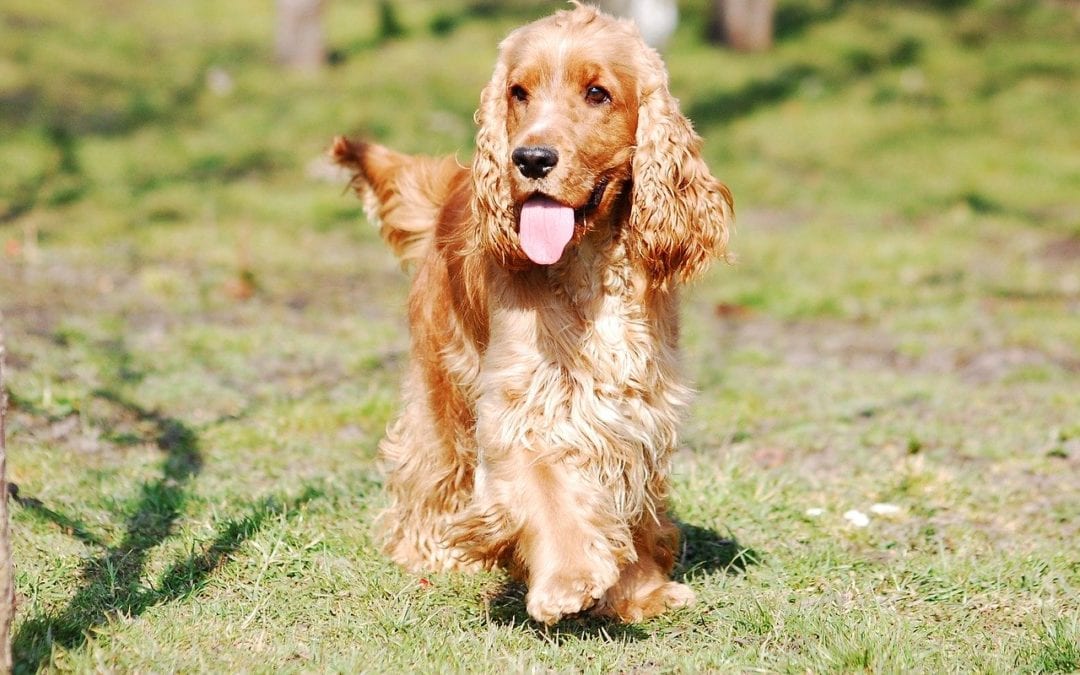
Have you rubbed your dog’s ears today? Sure you have. It’s one of those things that we do almost mindlessly, relishing their velvety softness and our dogs’ groans of pleasure. But did you know that rubbing your dog’s ears is also a great way to make sure they’re healthy?
Think about it. If the ears are healthy, you can tell that your dog enjoys having them rubbed. If they’re tender from an infection or injury, he probably pulls away from you, unwilling to have them touched. So just gently massaging your dog’s ears is a great first step toward checking their condition. If you notice that he’s sensitive about having them touched, it’s time to take a closer sniff.
Sniff and See
Yes, I said sniff. Healthy ears don’t have an odor. Make a habit of sniffing your dog’s ears, starting when he’s a puppy, so you’ll know how they smell normally. If his ears smell yeasty or downright stinky, it’s likely that a bacterial or yeast infection is brewing.
Now take a look inside his ears. The skin should be nice and pink with a light coating of pale yellowish wax. A small amount of wax is part of the ear’s self-cleaning system. If the ears look red or have a dark brown or black discharge, or if your dog frequently shakes his head, paws at his ears or rubs them against the carpet or furniture, he needs a visit to the veterinarian to see what’s causing the problem.
How do you know if your dog’s ears need to be cleaned? If they look and smell good, leave them alone. As long as your pooch’s ears are healthy, they don’t need to be cleaned. In fact, cleaning a healthy ear can damage its self-cleaning abilities.
Clean the ears if they have a mild odor and you see an occasional head shake. That may be enough to stop an infection before it takes hold. You should also clean the ears if the wax looks dirty gray instead of golden or if the ears look waxier than normal. When too much wax builds up, it can block airflow in the ear and lead to an infection of the outer ear canal.
Ear Cleaning Advice
To clean the ears, tilt your dog’s head downward with one hand and squirt a gentle cleanser recommended by your veterinarian into the ear, filling the canal. Holding the ear closed, give it a nice massage, really squishing the cleanser around in there. That softens any gunk inside. A number of new products include soft application tips and clever devices to apply just the right amount of product.
Now step back and let your dog shake. (You might want to hold a towel up between you so you don’t get splattered.) Wipe away any remaining cleanser with soft, dry gauze or tissue, not going any deeper than your first knuckle.
That’s all you need to do. Don’t mess around with cotton-tipped applicators. They can drive dirt and debris deeper into your dog’s ear. And whatever you do, don’t clean ears with alcohol or witch hazel. They dry the ear out and can sting if your dog has abrasions inside his ear.
Take your dog to the veterinarian if the signs — or smells — continue or worsen after you clean his ears. He may need a deep cleaning and a course of antibiotic drops or ointment to resolve the infection.
Some dogs are ear infection magnets. If you have a floppy-eared dog or any dog with a history of ear problems, check his ears weekly. There’s no scientific evidence that dogs with droopy ears have more ear infections, but anecdotally they tend to be the ones veterinarians see more often with ear infections. That said, allergies are probably the main cause of ear problems, and they are seen in dogs with all ear types.
Your best bet for preventing ear infections is to keep your dog’s ears clean and dry. Bacteria and yeast love a warm, moist environment. Keep them at bay by drying your dog’s ears thoroughly after a swim or bath.
Contact us for more tips on proper ear care for your pets!